Did you catch the Sewing with friends live session for this tutorial? Find it here.
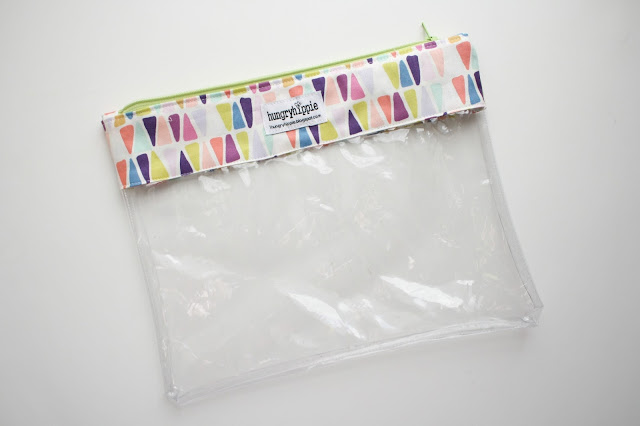
Sew a clear vinyl zipper case with fabric accents easily!
This tutorial now has a video walkthrough! Click here to hop over.
You can use this case for travel as well. It will hold your lotions and potions and get you through the security gate more quickly.
Seam Allowance 1/4"
Try reading my FREE Guide for sewing vinyl first if you've never worked with this material before. 😄
*Measurements are width x height
Cut (2) Sew Hungry Hippie clear vinyl pieces measuring 12.5" W x 7.5" H
Cut (2) fabric non-directional pieces measuring 12.5" x 6"
Cut (2) SF101 fusible interfacing 12.5" x 3"
Cut a #5 size zipper exactly to 11"
Cut (2) zipper tabs 2" x 3" SA 1/4"
Iron the interfacing to the wrong side of the fabric pieces now, matching long edges. We fold the fabric to be doubly thick later.
Sewing:
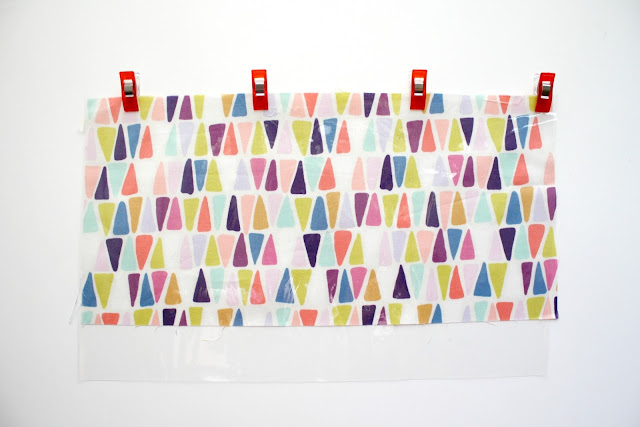
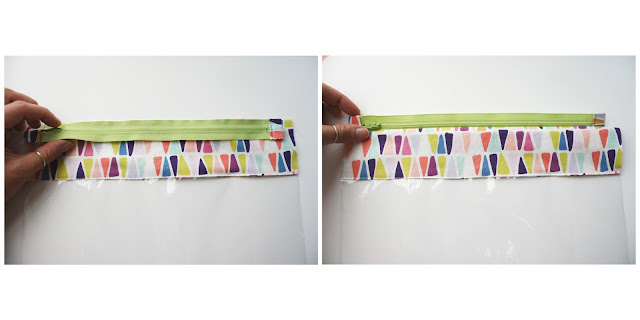
1. Sew vinyl to fabric along 12 1/2" edge, right sides together.
Put on your vinyl-seeing goggles for this photo:
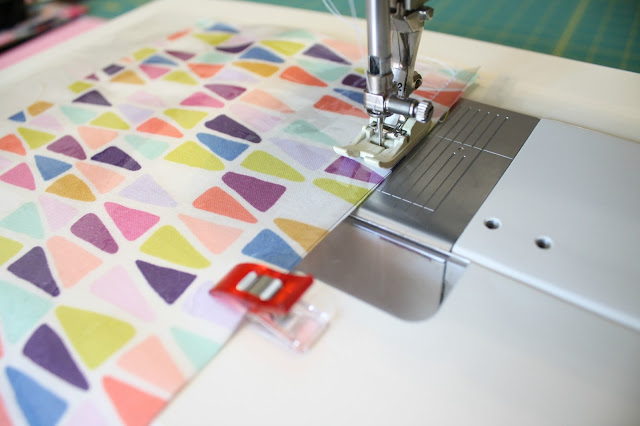
Close up
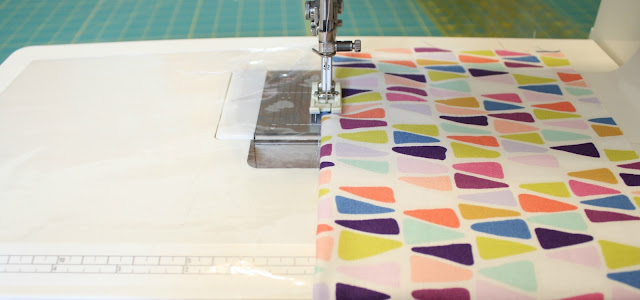
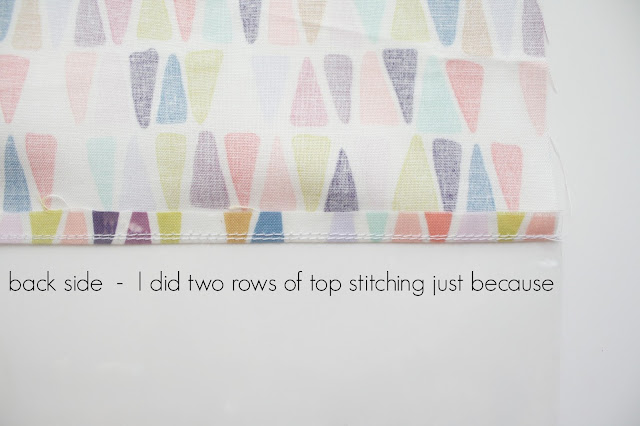
2. Press fabric and seam allowance up, away from the vinyl. Top stitch, catching the seam allowance that is tucked behind the fabric.
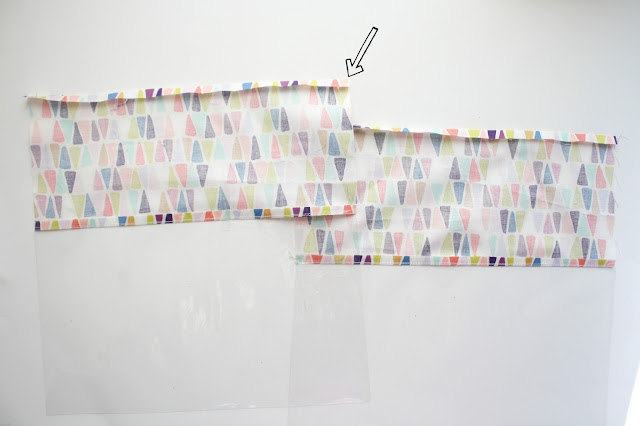
3. Fold the top raw edge of the fabric in 1/4" and press. Repeat these steps to make the second side of the bag.
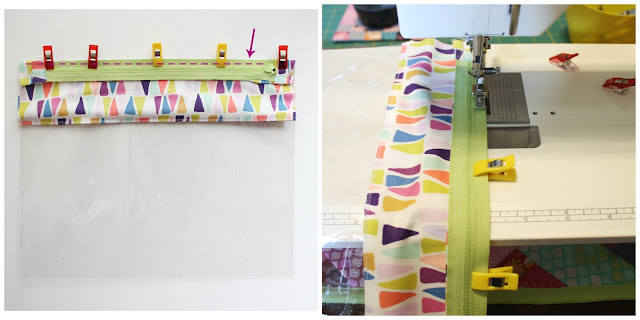
Arrow is pointing to the top edge that we folded down a quarter inch.
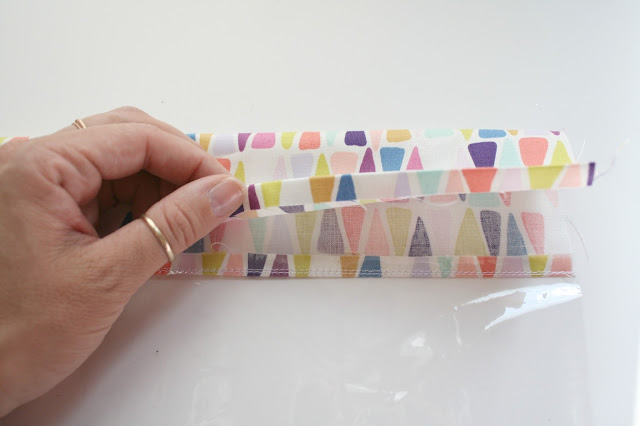
Fold down the top edge to meet with the seam allowance, like photos show. Pin in place and carefully sew along this edge, catching both sides.
I put several photos of this step so you get me. ;)
4. Make zipper tabs for the ends of zipper.
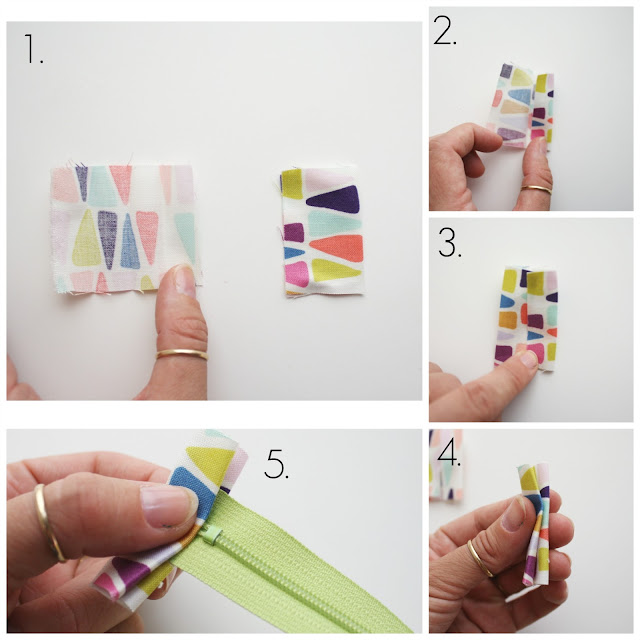
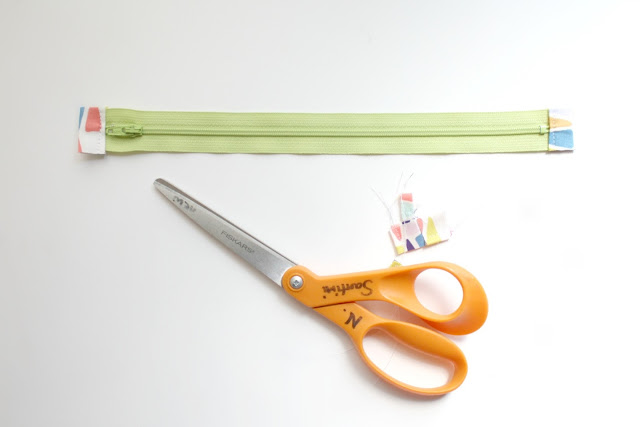
Fold 2" x 3" fabric in half and press. Open, then fold ends back in to meet at the original pressed line. Press again. Fold again so it is now like a taco, and fit the end of the zipper inside. Stitch along these folded edges, catching both sides. Trim.
5. Attach zipper to sides.
Place zipper right side down on top of side panel.
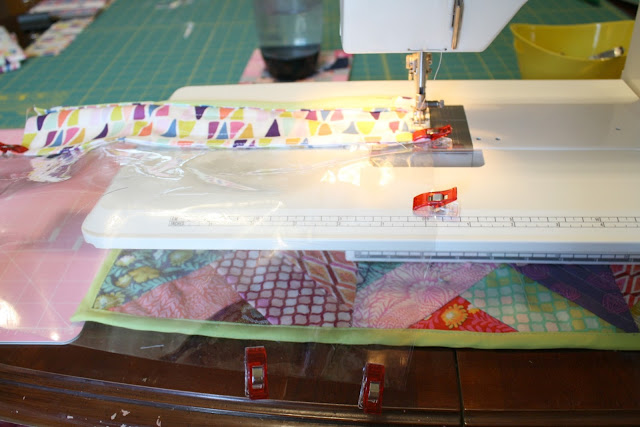
Pin in place and switch to the zipper foot for your sewing machine. Sew along this edge at 1/4" seam allowance.
Fold zipper away, finger press SA down. Top stitch along long edge catching seam allowance.
6. Place remaining side panel on work surface. Lay zipper side panel on top, right sides together. Match the remaining free edge of zipper to top raw edge of panel. Pin in place and sew along zipper tape 1/4" seam allowance..
7. Lay piece flat and press both sides away from zipper. Top stitch if you haven't already.
UNZIP the zipper.
Unzip the zipper. Don't make yourself unduly crazy by skipping that bit.
8. Place right sides together and wonder clip all around.
You have your zipper unzipped right?
Sew all around perimeter. (Dashed lines.)
You will NOT be sewing over the zipper tabs at all. If you need to scooch over the needle in the seam allowance a bit to miss sewing over the tabs do it. No big deal.
9. Trim corners if you like, and trim seam allowance if you have HUGE ones. Sometimes I space out and do giant seam allowances (like one sews in garment sewing) --- so here's a reminder in case you're like me .. LOL!
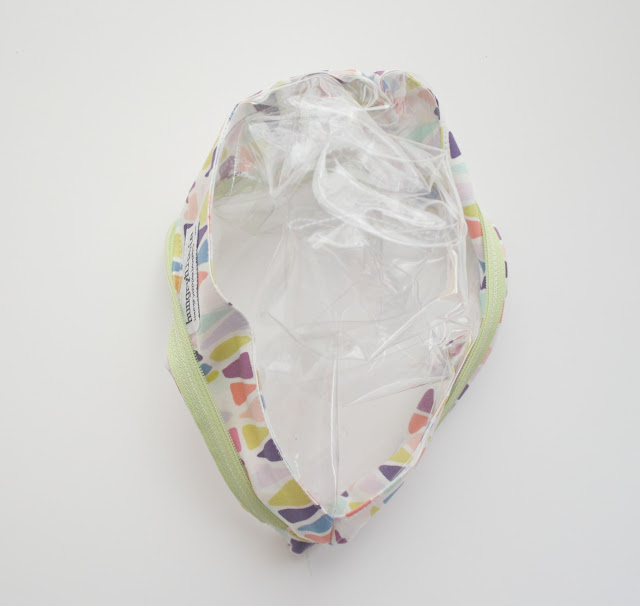
Turn right sides out, carefully. It will be sticky-ish and crinkly at first, but the vinyl will smooth everything out once warmed --so pOp it in some sunshine and watch it magically look fantastic again. Or use a blow dryer to heat it up first, then turn.
Yay it's done!
You may have to push those zipper tabs out more with your fingers. Sometimes it takes a bit of pushing.
Time to fill it with pretty stuff. Just because.
If you like this, you might like the clear Wendy Backpack.


