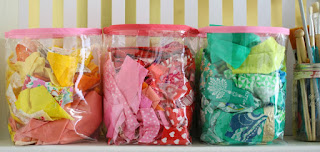
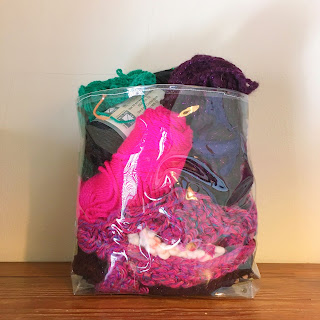
These clear vinyl bins are quick and fun to make! You can put anything in here from yarn, to scraps, to toys. Adjust your sizes if you want them bigger or smaller.
*If you're new to sewing vinyl, please look through my FREE PDF Guide to Sewing Vinyl here.
Materials
Teflon non-stick sewing foot
Wonder Clips
Marking pen
1 package Wright's extra wide double fold binding

Use a Teflon foot throughout so there is no sticking.
1. Cut two pieces of vinyl 13" square.
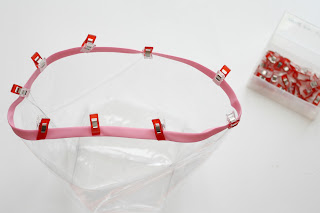
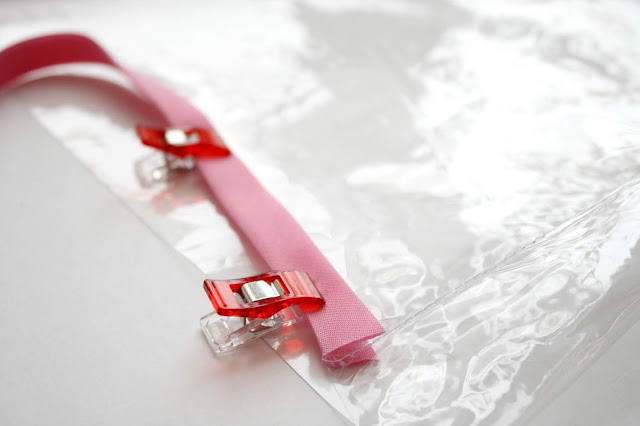
2. Place these vinyl pieces together and use clips around three edges to hold together. (Pins will make permanent holes.)

3. Sew along these three edges with a 1/4" seam allowance. Leave the top open.

*If you don't have a Teflon Sewing foot, you can use tissue paper-place it on top of the vinyl and sew right over the layers. Rip the tissue away after sewing.
4. Measure and mark 3" squares in bottom corners; cut on lines. These will be the boxed corners .
Match the side and the bottom seams and press together to form this shape:


