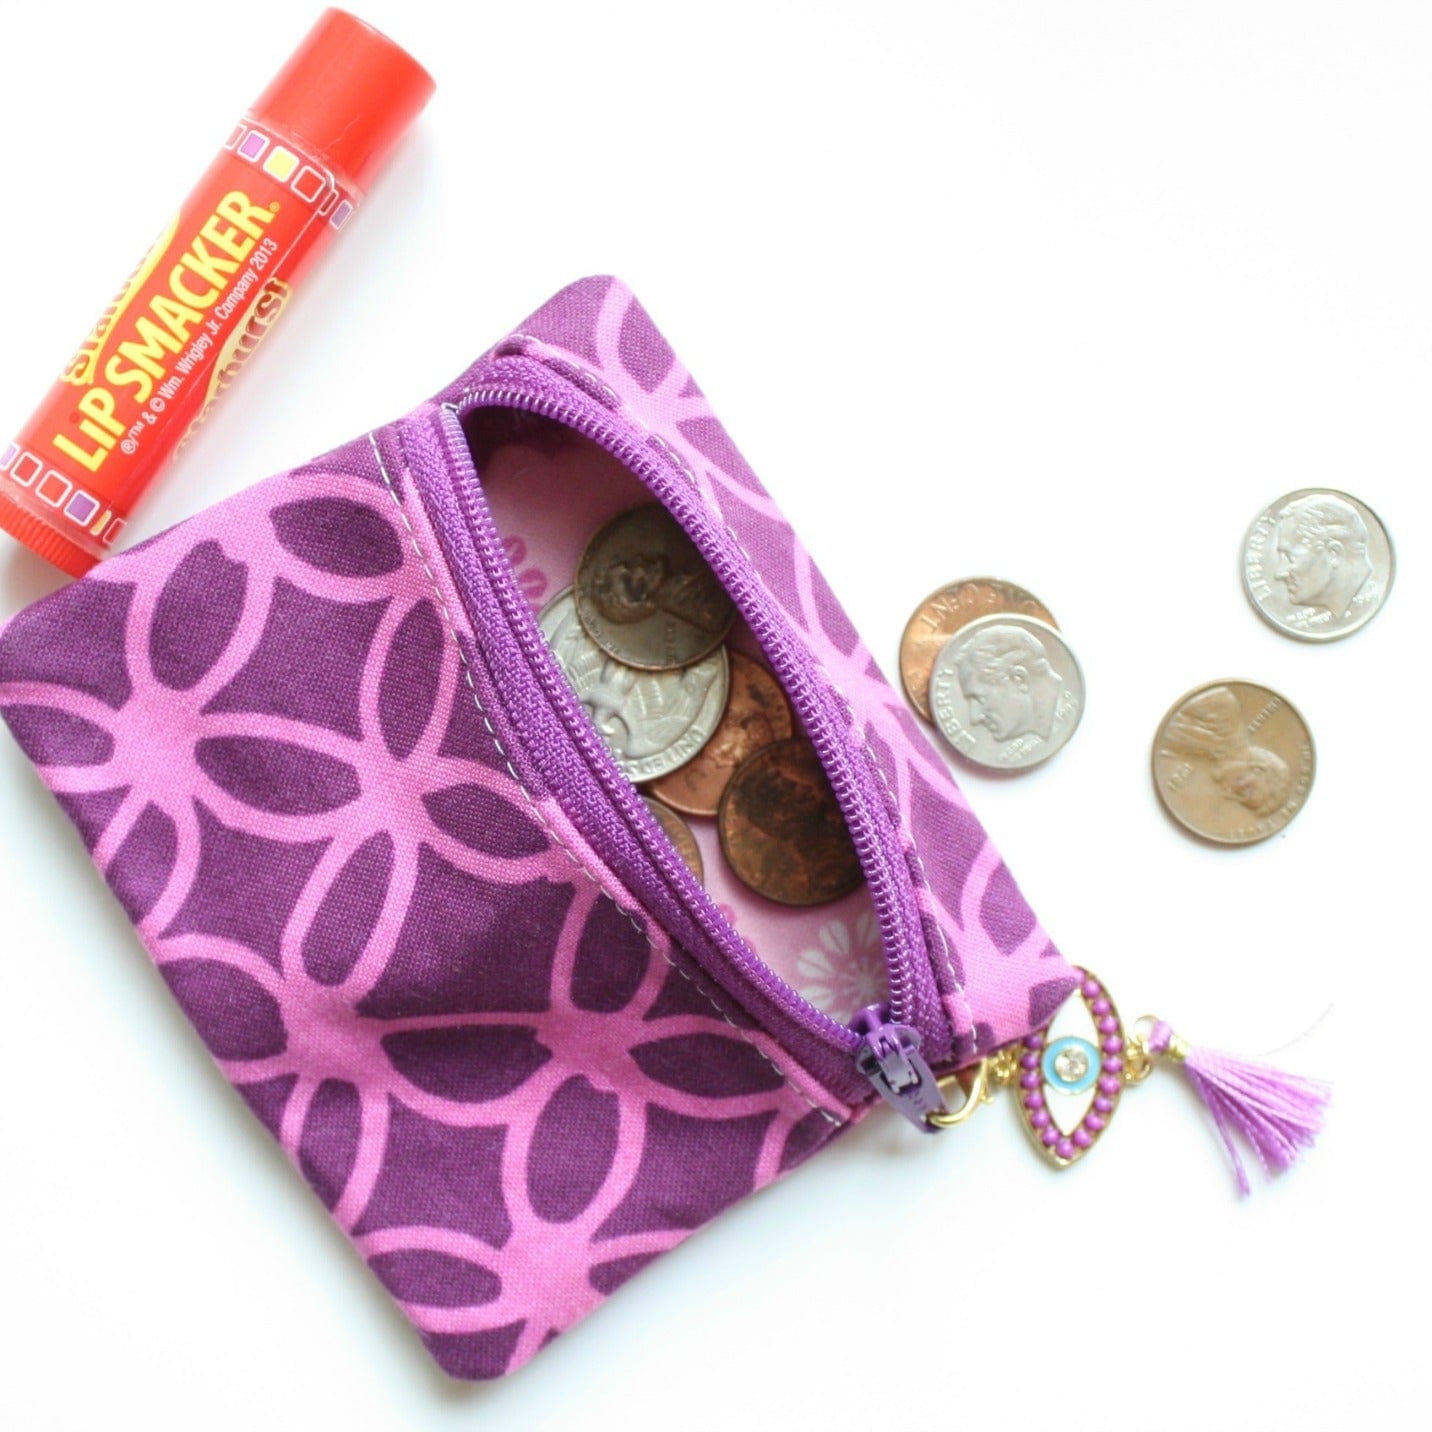
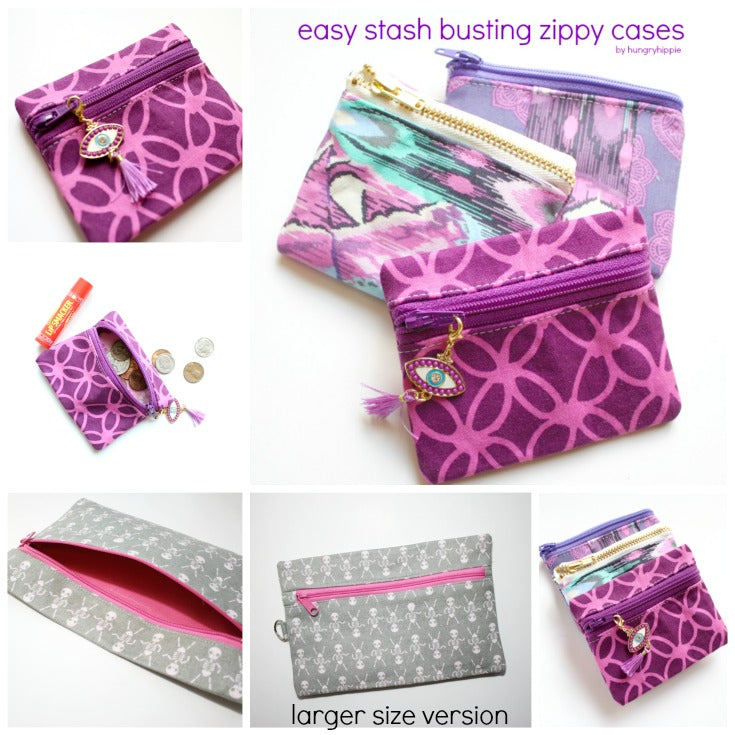
This tutorial will show you how to make super easy zipper cases or baby pouches as I like to call them, with little bits of fabric.
I make these for small gift giving presents as they use up my scrap bin stash, but are super fun and cute to give too. Especially if you pop a Lipsmacker in there and some Starbursts. Right?

Supplies:
2 pieces fabric measuring approx 6" x 4.5"
1 piece Wonder Under or other double sided fusible
2 pieces SF101 interfacing (optional)
Zipper 4" or longer to make it easier

1. Cut your fabrics out at 4.5" wide by 6" tall. Cut the SF101 and Wonder Under pieces the same.
2. Optional but recommended if using quilting cotton: fuse the SF101 interfacing to the wrong sides of both fabrics.

3. Place the lining fabric right side down on your ironing board and fuse the WU to the wrong side. Press for thirty seconds or so. Let it cool, then peel the paper off.


2. Place the wrong side of the exterior fabric on top of this shiny WU, and press into place. This fuses the two fabrics together. (Wrong sides together).


3. Place zipper right side down on the top of the exterior fabric shorter end (4.5").
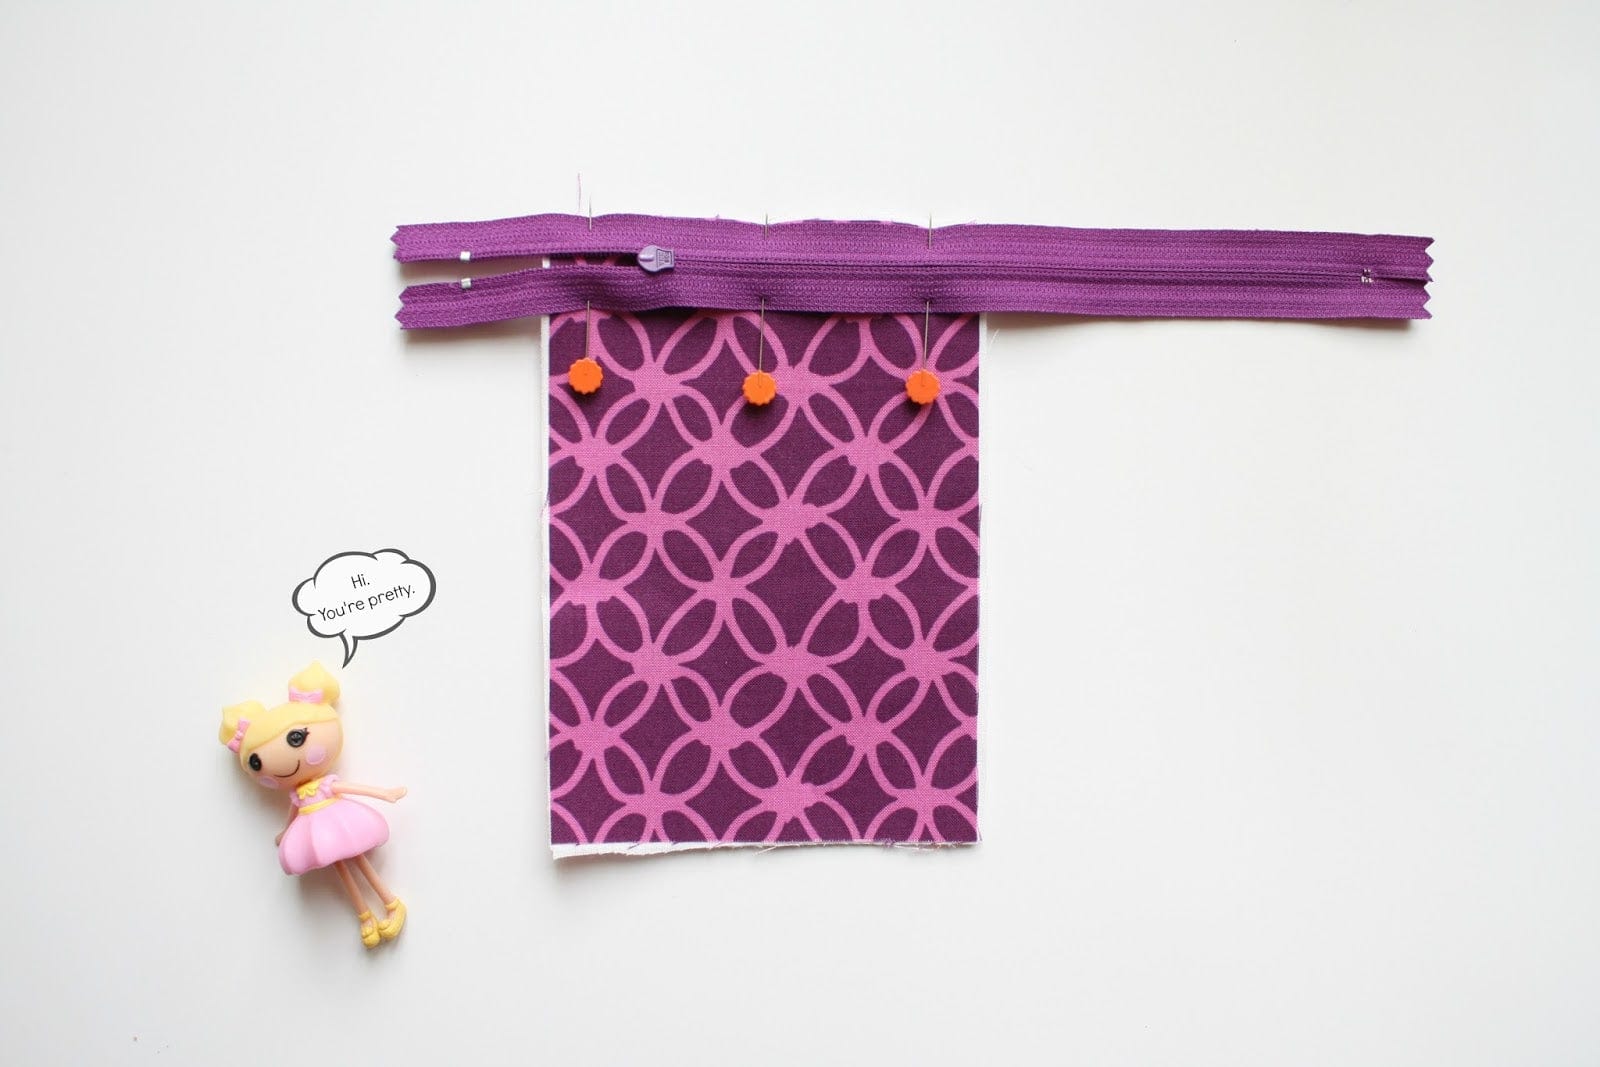
Zipper end is on the left.
Pin or use wonder clips to hold in place.
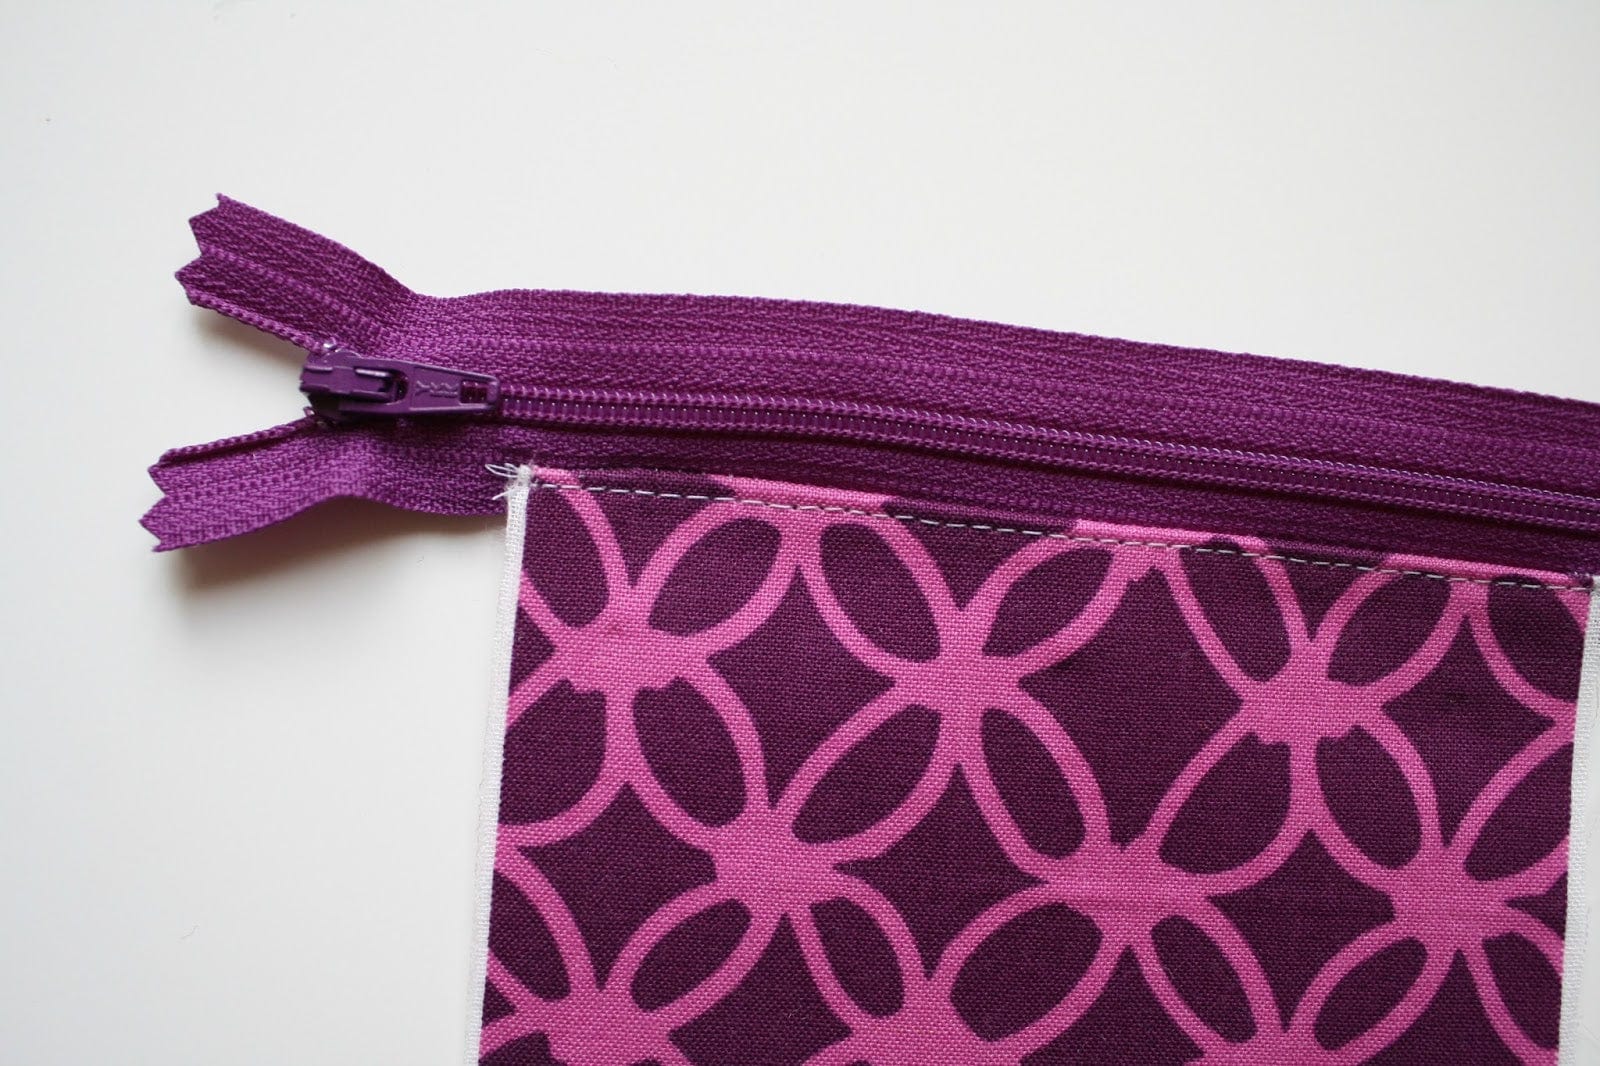
4. Sew along edge at 1/4" seam allowance.
Utilize that zipper foot.

5. In the third photo above, I'm pressing that seam allowance back. Top stitch this down for a nice clean finished look.
6. Fold the other short end of the fabric up and line it up on the other side of the zipper like this:

Pin it or use clips to hold it in place.
Be sure the sides are lined up, otherwise it could be wonky.
9. Unzip the zipper and top stitch this side now, making sure your inside zip edge is nice and flat.

10. Close the zipper leaving 2 or 3 inches open. Fold the entire purse pouch on itself. Place the zipper in the desired area, I like mine 3/4 of the way up (ish). Pin in place and sew the side seams. I use 1.4 inch seam and lock stitch the top and bottom AND the zipper portion.


12. Trim the sides with pinking shears. Snip off the excess zipper with old(er) scissors. Clip the corners a bit as well.
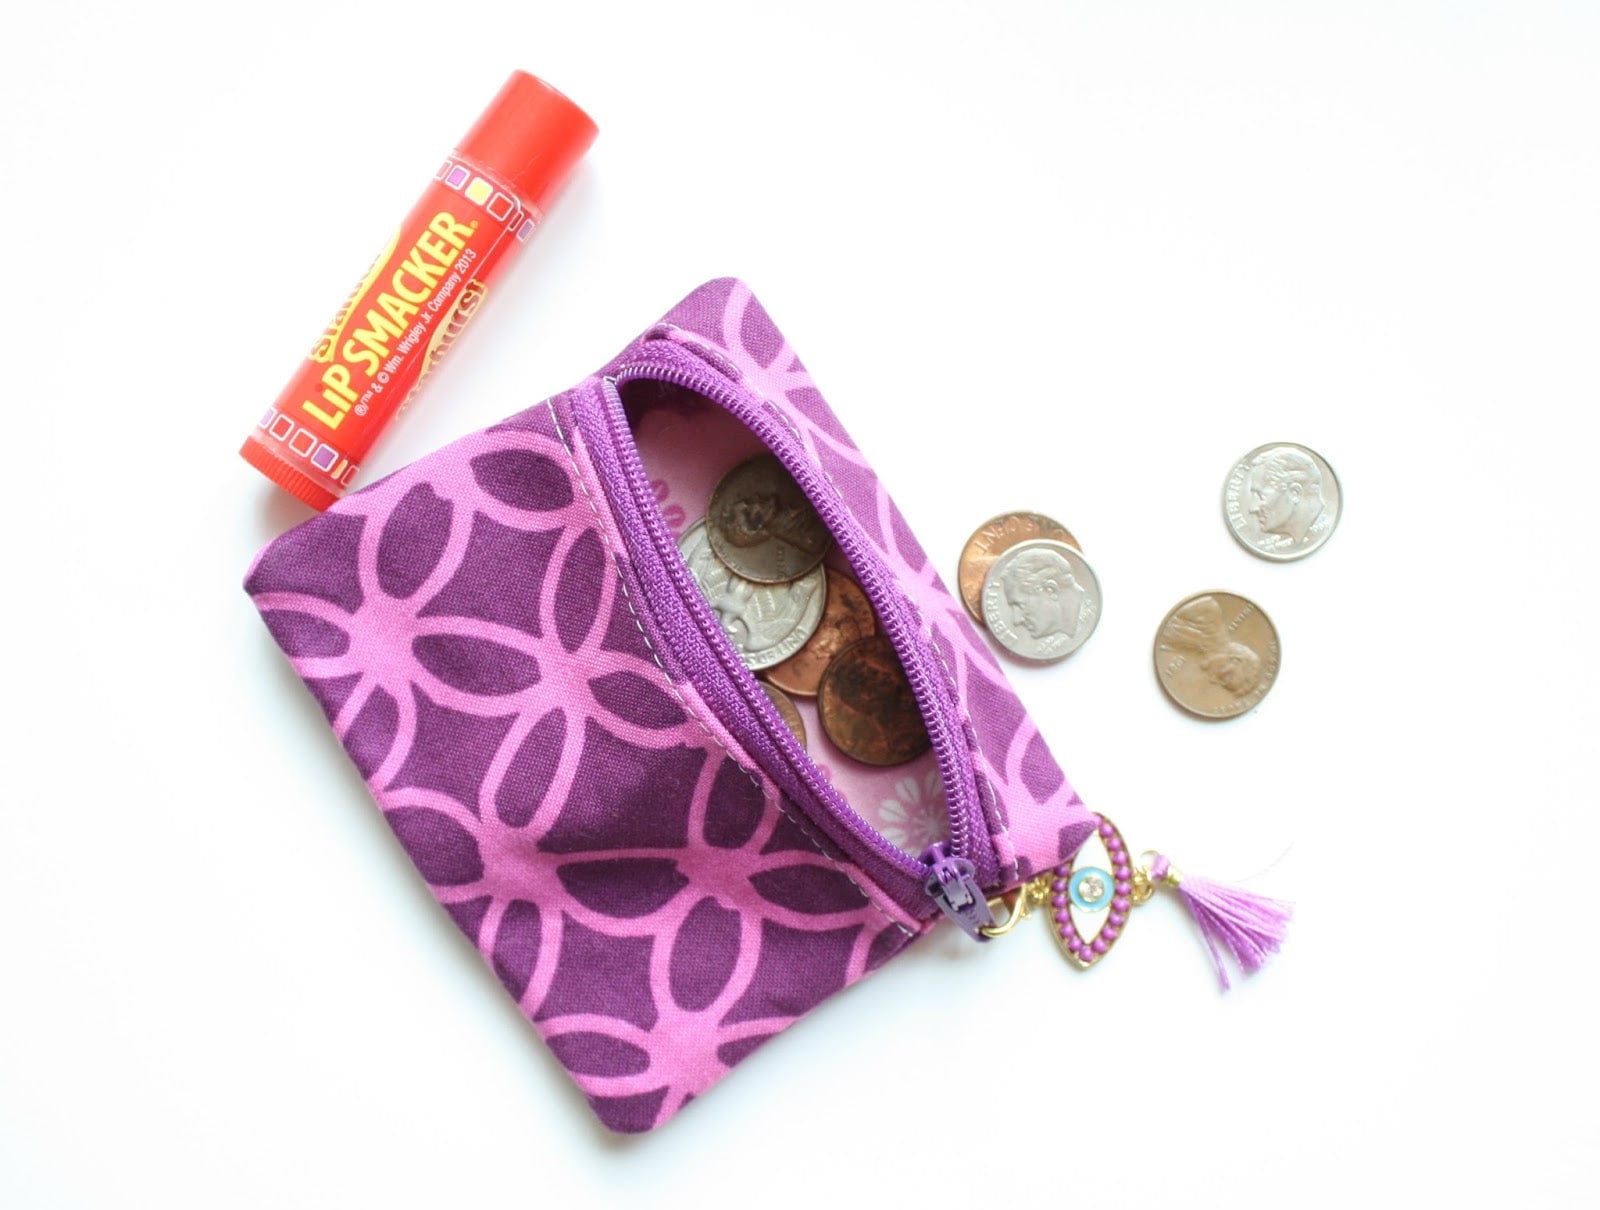
Great job! I hope you had fun. Tag me or message me if you make one, I love seeing your finished makes.
**My skeleton pouch is a larger version of this tutorial. If you wish to make one like this, cut the fabric and interfacing at 11.5" wide x 14" tall. I also added zipper tabs for this version for fanciness. Zipper tabs are quite easy, they are in a ton of my patterns. See my vinyl case tutorial here for a quick refresher.

I'd love it if you pin this project or tag me on IG when you make it.
I love seeing your creative makes!