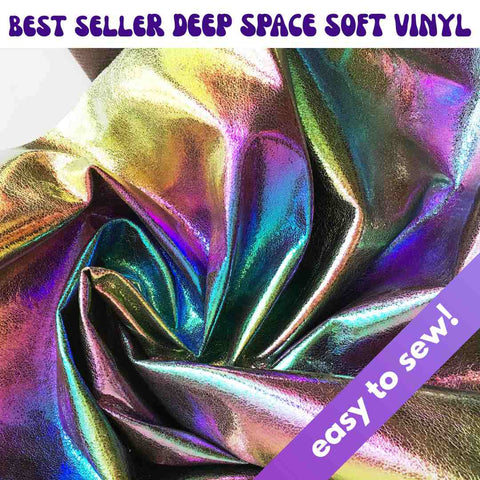
Bright, uncluttered photos are eye pleasing and easy for clients to focus on the product. It can make or break a sale. Just think of the Pinterest images you pin, or the magazines you browse, or the shops online you like to look at.
What are common features?
1. Stellar lighting
2. Focused/ non blurry image that leads your eye to the "point" of the photo
3. Styling

It's fun to mix it up now and then and throw in something unexpected.

I am a non-professional photographer of (my own) products.
I hope to give you a little help or maybe an idea, as it's taken me a while to find what is easiest and works well at the same time.
You don't HAVE TO use a DSLR but I think it does help. Many people take amazing photos with their phones, I don't seem to have this talent. Point and shoot is fine as well. Use what you have and learn.
*this post contains affiliate links
If you are using a DSLR camera...
I always shoot in Manual Mode. It's here you can play with ISO to get that really bright shot. I make sure to shoot so my light triangle thingy is on the right side (not the left) which tells me it's "brighter" than the camera wants it to be. That's ok-that's the look I'm going for. Rotate the main command dial and play with your preferred look.

Here are my top tips:
1. Clear your space. We don't want to see the laundry basket or your shoes lying around, thanks. (Unless it's styled!)

2. Invest in high quality heavy white paper you can tape onto the wall and have it bend onto the floor as well. No seams. No lines.
See how my poster board is bending here? It's not expensive, and I can use it over and over again.

However my favorite set up is using this roll of paper which is hung on my wall:

The same look can be achieved my taping or using tacs to pin it up on the wall, and leave it there.
If you must, roll it up and store with a rubber band.
NO FOLDS
You can see more here in this shot. Note how the lighting is ALL WRONG though. (LOL)
However, with some editing, I was able to use a lot of these photos.

3. Speaking of editing, I have zero time and patience for Photoshop and LightRoom. So--I use PicMonkey, a super user-friendly online photo service that lets me do what I need to.
Usually, that means brightening a photo, intensifying the color, cropping, and rotating.

You can try out a lot of the stuff for free, and if you need more it's $5/month. I mean--totally, completely worth it.
I almost always have to crop, maybe rotate, and brighten. Sometimes I like to saturate the colors a bit for pOp. These tasks are so easy in Pic Monkey.
I show this easy and fast process on my Instagram highlights! Click here and then tap the circle in my bio that says Edit your pics.
4. Lighting
I invested (finally) in these lights here just a month ago and WOW what a difference.
At first I bought just one, but quickly realized shadows are an issue if you don't have window light, so I bought another.
I don't have large windows I can utilize for filtered sun light, so this was a major issue. I do try to shoot in the late morning when the sun is out because somehow that soft light does make a difference, though my photo room has only one window.
IF you can't buy lighting, put your product near a window out of direct sun, on a white background and shoot.

5. Tripod or brace your arms / prop them on something.
I like to use a tripod, but time doesn't always allow this. If possible, I prop my elbows on the floor, a counter, or a chair and hold my breath while I press the button. This will result in a crisper photo.

6. Get a reflector
These are great for reducing shadows and brightening up a photo. I love them! I want man size reflectors--I'm still searching.
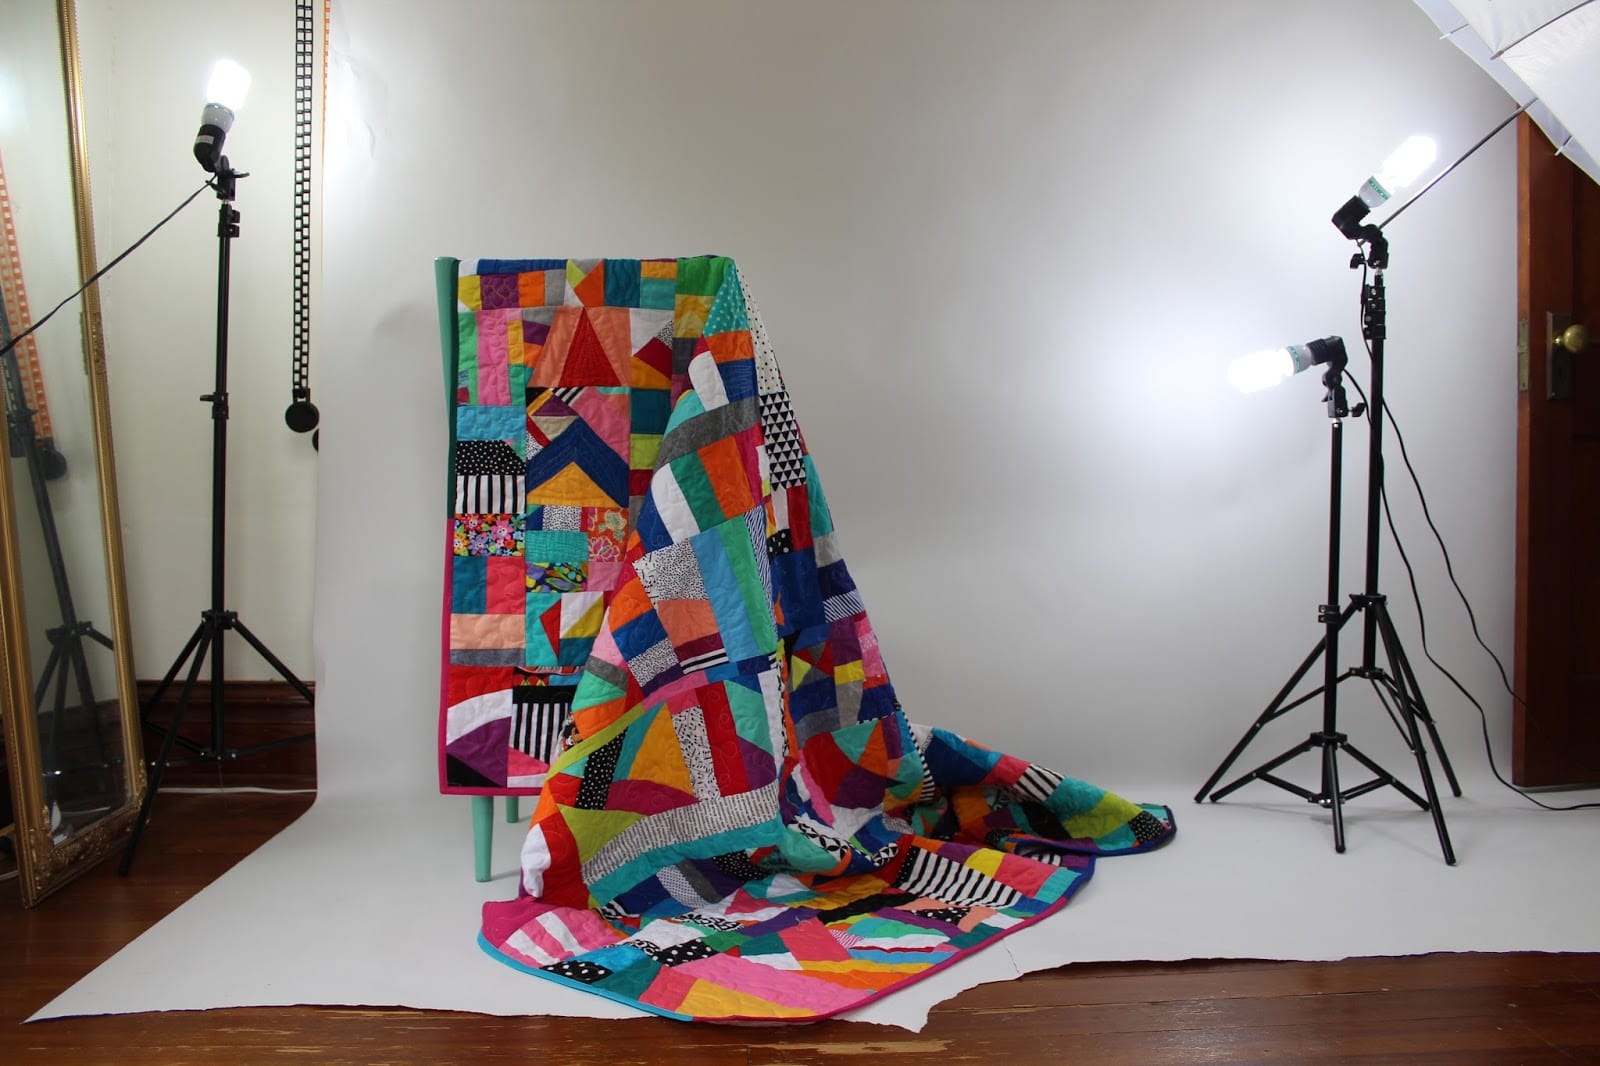
7. Take top shots looking down-lay your product flat if possible.

See how this top photo is much easier to look at than the one below?

Standing up, pointing camera down:

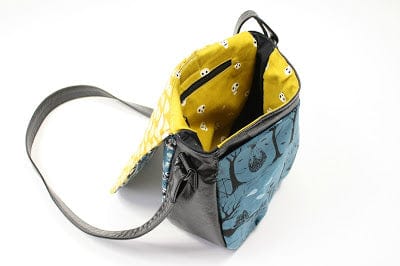
8. Styling
Make your photo pOp with either other objects in the background (sparingly) OR doing something with your product that is unique. Such as rolling up a quilt rather than just having a straight on shot. Sling it on a chair, have a person model it, etc...


The feel of the photo is important. Like below, I added some grain to the photo to give it that old world feel, as the furniture is old and having paint work done.

It's fun to pay attention to photos that grab your attention. Start compiling them, and note what is drawing you in. Copy a magazine layout for kicks, see if that works. Just start practicing, and you'll find your niche.


Most of all-- HAVE FUN!
HAPPY MAKING!

Against a blank wall. Sunshine only.

My patterns - mostly flat lays.

Or just get outside :D
Find more fun tutorials on my (new)YouTube channel here.
Thanks for subscribing!