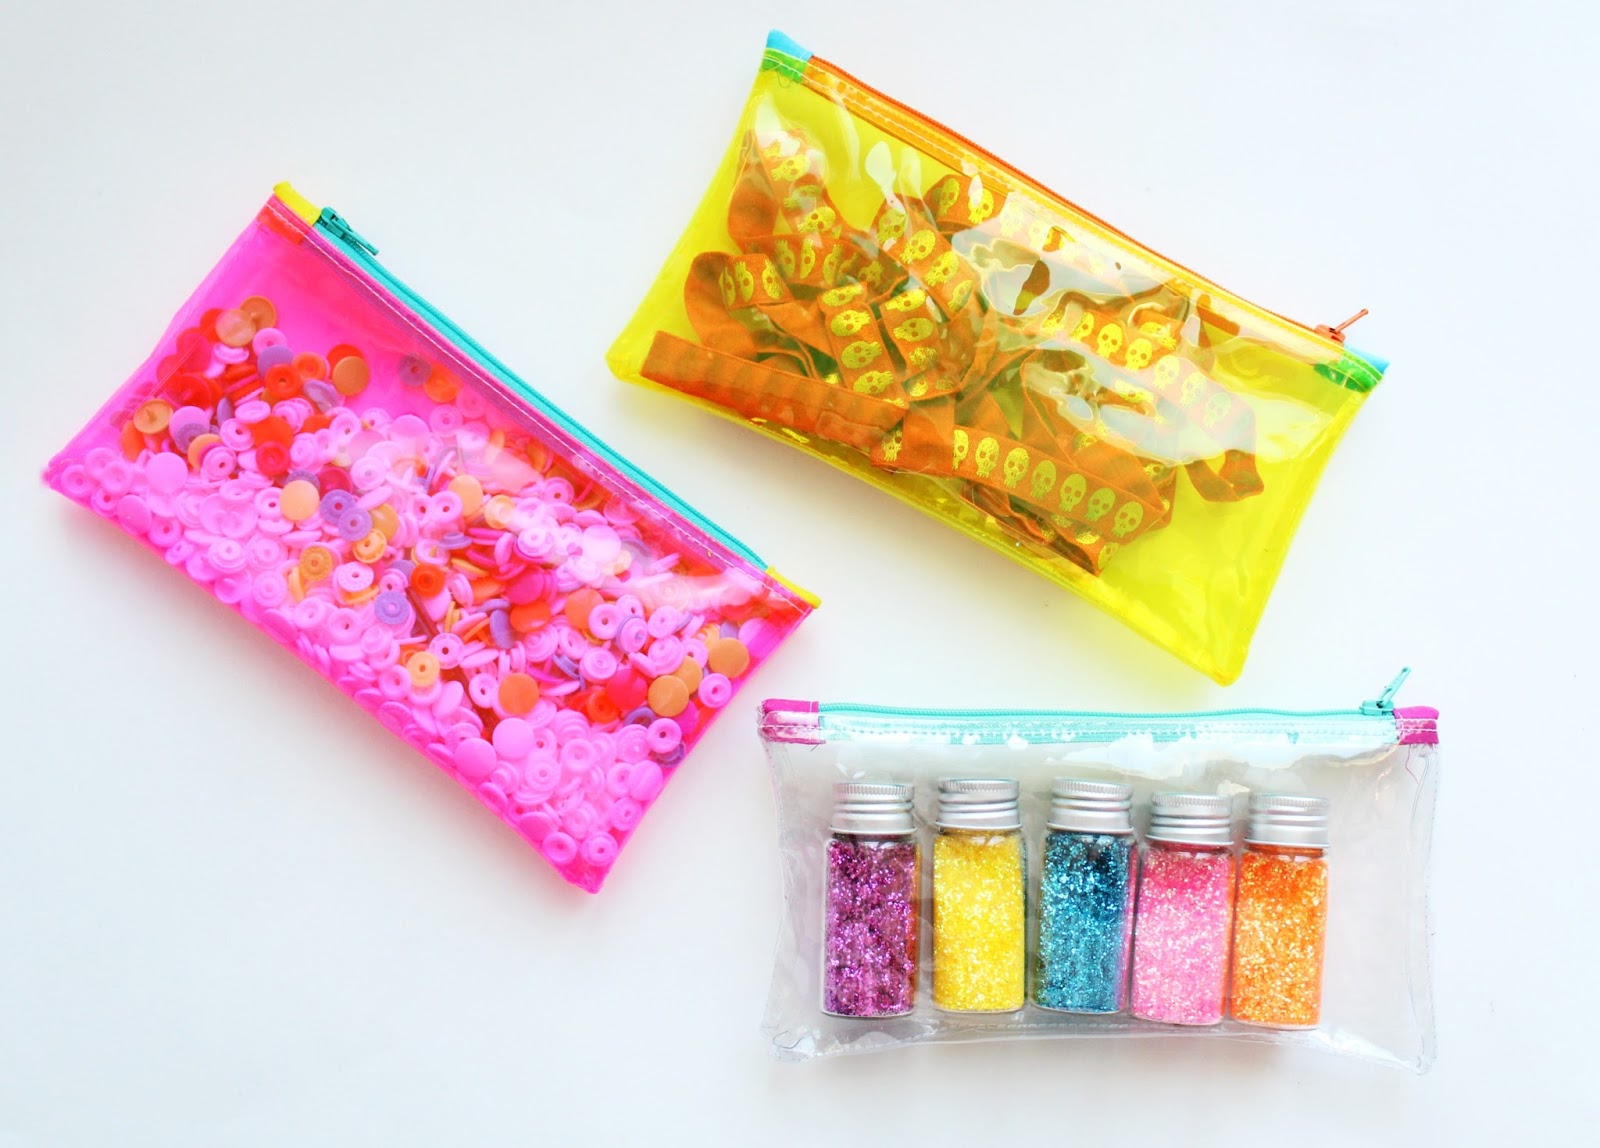
Make a super quick, colorful vinyl pouch. These fast sews are so FUN! They don't take long at all because there is no lining to mess with.


Find colorful Sewhungryhippie vinyl here- I've got loads !
Read and download the FREE PDF GUIDE for sewing vinyl here if you need some tips! :D

You'll want to use a Teflon or NON STICK sewing foot when sewing with vinyl. If you don't have one, for a super fast fix, put scotch tape on the bottom of your sewing foot. It allows the foot to glide over the vinyl. It's not as good as a Teflon foot, but it might help in a pinch.
Let's begin.
SUPPLIES:
(2) pieces vinyl at 5" tall x 9" wide
(2) zipper tabs (cotton) at 2" x 3"
(1) 8" zipper or trim to size
non stick foot
1. (Use the scrap bin for these babes.) Take the zipper tabs and fold short ends in towards the middle and press. Press again to make a sandwich-(visualize double fold binding if you're a quilter). We stick the ends of the zipper in there so no puckered corners are visible.

2. Tuck butt end of zipper into one tab and pin or clip in place. Sew along non folded edge, catching both sides as you sew.

3. Trim zipper to 8" length (cut off those metal bits they are mean to sewing needles) and attach the other zipper tab in the same way.

Trim sides to be as wide as the zipper.

4. Lay the zipper RIGHT SIDE DOWN onto the vinyl. I would say right sides together but vinyl doesn't really have a wrong side. Clip in place.
5. If you have a zipper foot, put it on now and sew down the zipper at 1/4" seam. If using a regular foot just move the zipper head out of your way when your sewing foot comes near it.

6. Attach the other side in the same way- to the other side of the zipper.

7. Press flat and fold seam allowance toward body of case. Finger press and then top stitch this down for a professional look.

8. OPEN the zipper. Alllllllllllllllllllll the way.

Did you OPEN the zipper? Just checking.
9. Lay the RIGHT sides together. Clip in place.

10. Sew around sides and bottom at 1/4" SA. The top is open because of the zipper.

11. Trim corners and seam allowance a touch.

12. Turn right sides out. Warm it up on the radiator or use a hair dryer to make the vinyl easier to turn. It only takes 20 seconds.

13. Poke the corners out with a chop stick or some sort of tool but BE CAREFUL. This is not a time to show off your biceps.

ADMIRE your AWESOME new case!
Tag me on IG @sewhungryhippie
and use #sewhungryhippiepatterns


